Halloween Bubble Wrap Stamping
Pull out the construction paper as it’s time to create some fun works of art using paint and bubble wrap! It’s easy for your kids to create their own designs using basic shapes and then embellishing to their heart’s content. Here’s how to make ghosts and pumpkins, but there’s no limit. They can make a Frankenstein, a witch, or even a bat, whatever they can think of!
For this project you will need:
Bubble wrap
Scissors
Orange and white paint
Construction paper
Markers
Scissors
Glue stick
First, cut bubble wrap into 6-inch squares.
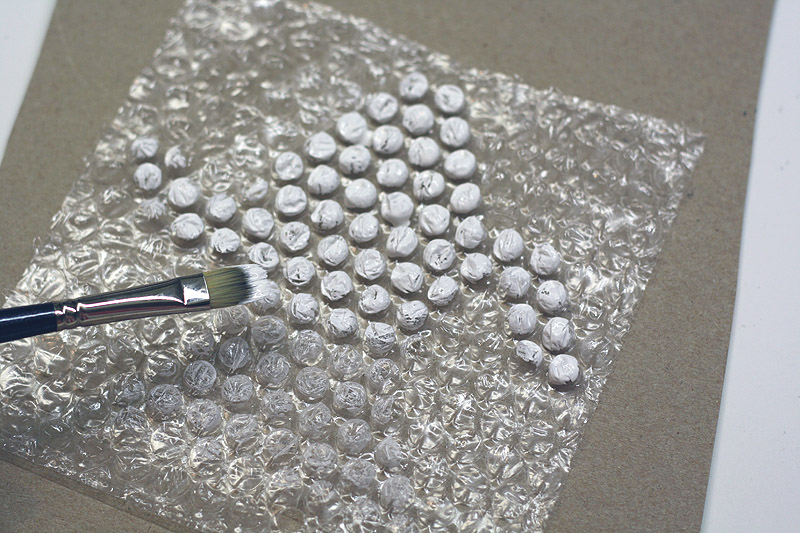
Here’s the most important part: on the side with the bubbles, use a brush to lightly add paint in the shape you want. The key is to only paint the bubbles, not down into the crevices.
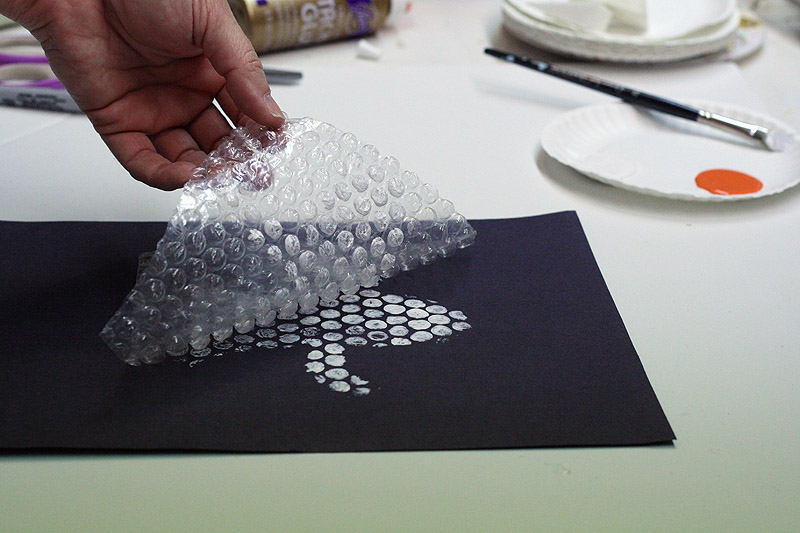
Turn your bubble wrap over, paint side down and press it firmly but gently onto your paper.
Peel back your bubble wrap stamp and allow your creation to dry.
Embellish your designs using construction paper and markers. I cut out yellow and black facial features for the Jack o’Lanterns. I used a glue stick to attach them.
For the ghost, I drew a mouth on red construction paper with a black marker. It wasn’t red enough for me, so I colored it in with a red marker.
You can add eyebrows with a marker and cut pumpkin stems from green construction paper. I used goggly eyes for my ghost, though you could certainly create them with plain paper too!
Crayons and colored pencils would be great too. Just pile it all in the middle of the table and let the kids decorate. Be sure to hang their creations when finished!
Amanda Formaro is a well-known craft expert and has been writing and crafting on the Internet for over fifteen years. Find out more on her blog, Crafts by Amanda, where she shares tutorials with step-by-step photos for adults and kids alike.


