2 Buzz-worthy Bee Party Crafts for Kids
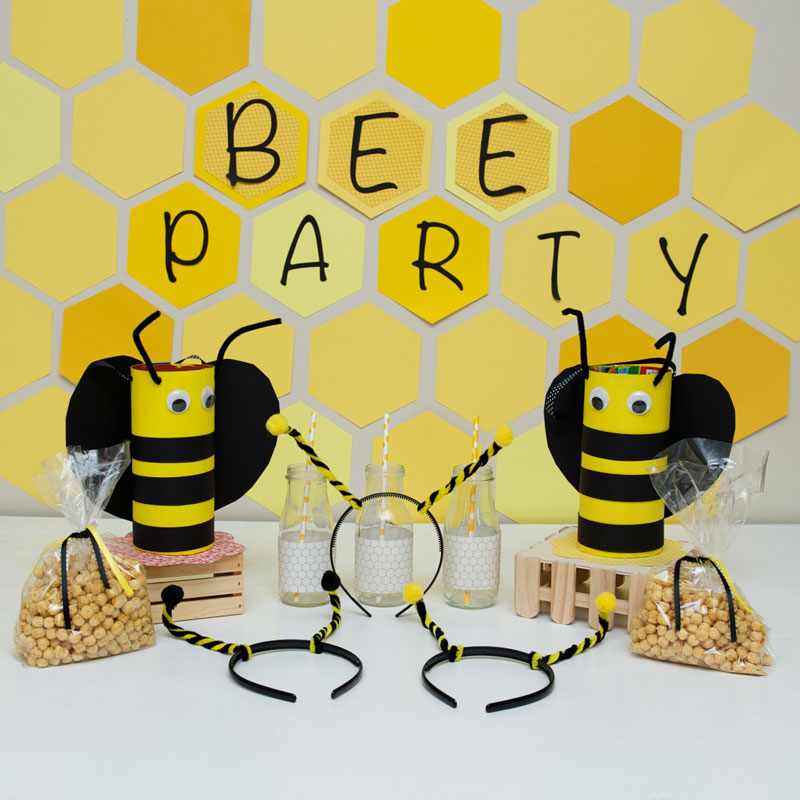
I always have a GREAT time working on my parties, and this bee party was full of BUZZ! I have to say, it was lots of fun working on another bug inspired party and I think it turned out awesome.
I had fun crafting with my kids and learning a little MORE about bees in the process. Check out these cute bee crafts we did together.
The kids will be BUZZING for these cute bee crafts!
Headband Bee Antennas
Materials
- Black plastic headband
- 2 Yellow pipe cleaners
- 2 Black pipe cleaners
- Hot glue and gun (For parents use only)
- 2 Yellow pom poms
Getting Started
I thought making easy bee antennas was an enjoyable and simple craft for the kids to make. They can have A LOT of fun buzzing around the party in their bee antennas.
Step 1 – Attach and Braid Antennas
We started off with 2 pipe cleaners (yellow and black), and wrapped them around the SIDE of the headband.
We twisted the pipe cleaners around all-the-way to the TOP. Then, we repeated the process on the other side.
Step 2 – Glue Pom Poms to Top of Antennas
Next, we bent the ENDS of the antennas and added a small amount of hot glue at the tips. Then, we firmly placed our pom pom balls on TOP. Parents will need to help assist with this process.
We held in place for a couple seconds. Ta da, SUPER cute bee antennas…done in no time!
Finished Headband Bee Antennas
Cereal Box Bee Party Favor
Materials
- Empty cereal box
- Hot glue and gun
- Pencil
- Scissors
- Yellow craft paint
- Decorative ribbon
- 2 Sheets of black cardstock
- 2 Large googly eyes
- 1 Black pipe cleaner
- Flower printable
- Decorative cardstock OR scrapbook paper
- Double-sided craft tape
- Hole punch
Getting Started
I’m a HUGE fan of incorporating a cereal box into all my DIY parties. So my first thought was a GIANT bee party favor for the kids to make and take home with some healthy treats inside.
Step 1 – Create Your Bee’s Body
We cut one-side of the cereal box out, FOLDED over and hot glued into place. I had the kids paint two coats of yellow paint. Let dry 20 minutes.
Using black cardstock, we cut out 3 STRIPS and glued them onto the cereal box for our bee’s stripes.
Step 2 – Add Your Bee’s Head and Wings
FIRST, glue your googly eyes into place.
Next, add your antennas. Use a hole punch and place your pipe cleaner through. You can use a piece of TAPE to keep in-place on the inside. Then, cut out a LARGE heart using black cardstock and glue it to the back of our bee for it’s cute wings.
Finally, add a DECORATIVE ribbon for our handle (using a hole punch).
Step 3 – Add Your Flower Base
For the BOTTOM of the bee, we wanted it to look like our bee was was sitting on a flower. We printed our flower shape on decorative cardstock and CUT out. Then, we traced our flower cut-out on the OTHER side of the cereal box (and cut that out).
We added a little double-sided tape to keep the flowers together. Finally, parents add some hot glue around the BOTTOM of the bee and firmly press the bee onto the flower.
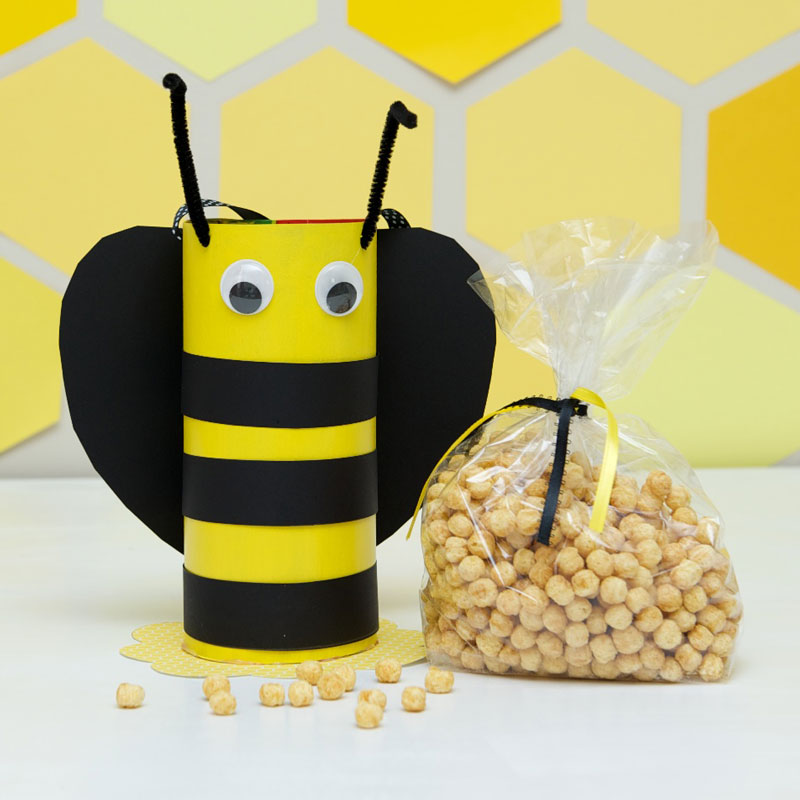
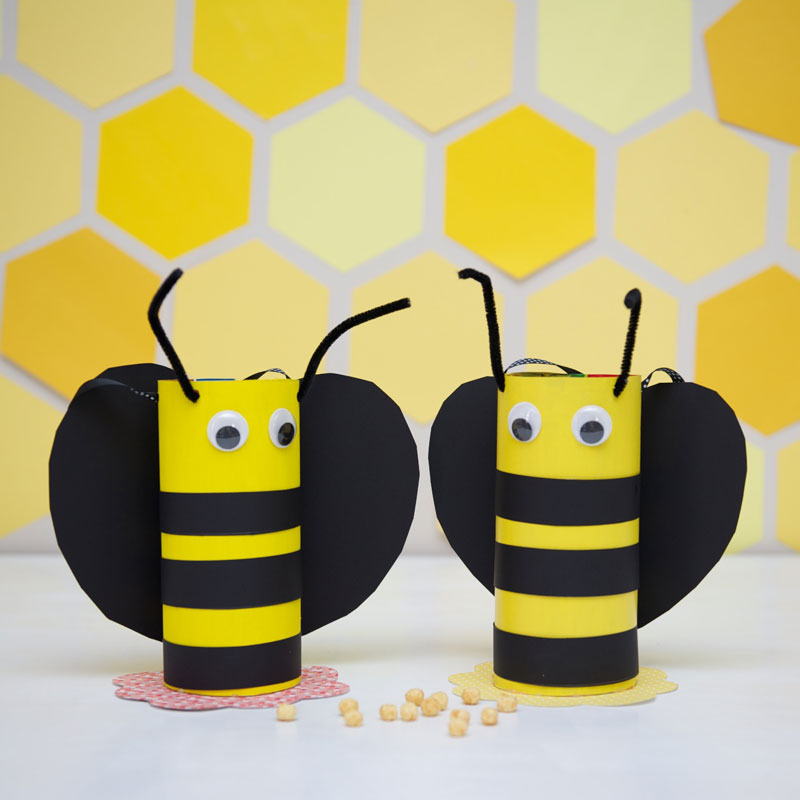
Voila, a cute bee party favor for the kids. Hey! They can even use it as a pencil or marker holder when they get home!
Finished Cereal Box Bee Party Favor
It was a good time working on these bee crafts. I hope EVERYONE will have as much fun making and learning about bees as we did!
Want More Bee-themed Activities?
Your little ones will have a GREAT time with these bee inspired ideas too!
Bumblebee Spring Snack
Hungry for a bee-themed snack? This bee is not just tasty, but it is TOTALLY adorable!
Make a Bee Condo
Give those sweet bees a nice place to live…CONDO STYLE! Your little ones will enjoy making a bee condo to help preserve the honeybee population!
I hope (as with ALL my parties) you found some great inspiration and are excited to get working on a bee party with YOUR kids!


