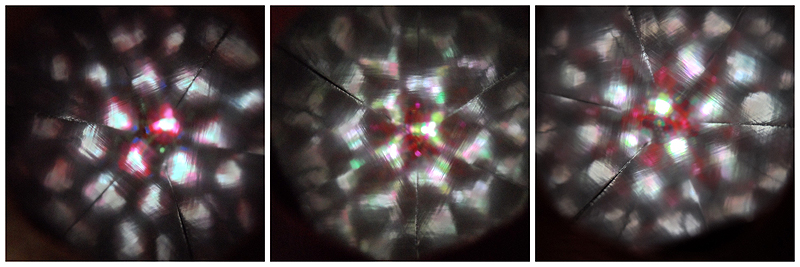
KiX Kaleidoscope
This classic boredom buster was a favorite from just about everyone’s childhood. Staring into the myriad of changing colors was always fun and a great way to spend a rainy afternoon! Why not make it an afternoon of crafting fun with your school aged kids?
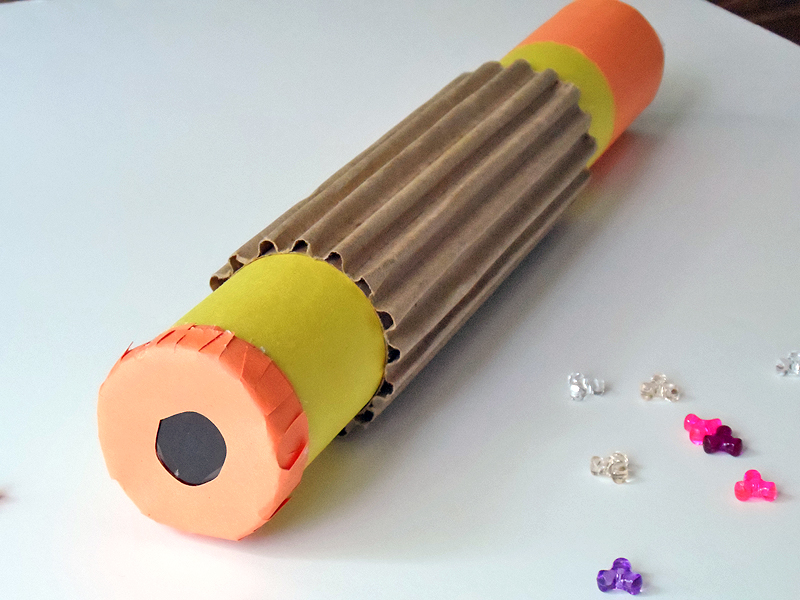
Little ones will love the final result, but the construction of this project is best for kids aged 8 and up.
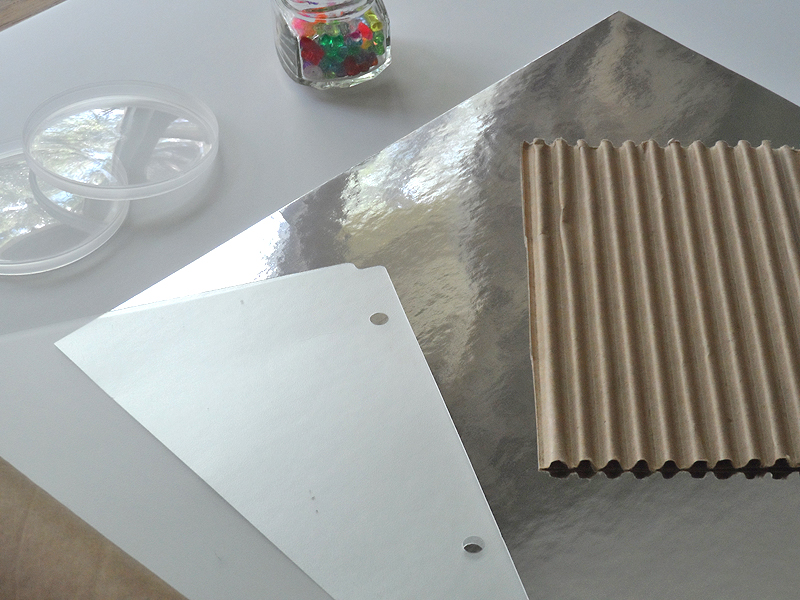
To make a kaleidoscope you will need the following supplies:
Cardboard paper towel tube
Reflective scrapbook paper (or aluminum foil glued to card stock)
Scotch tape
Clear plastic (produce container, chip can top, school report cover, etc)
Frosted plastic (we used a report cover, you can also use clear plastic with wax paper glued to it)
Corrugated paper or cardboard
Colorful transparent beads
Hot glue gun
Yellow and orange construction paper
Scissors
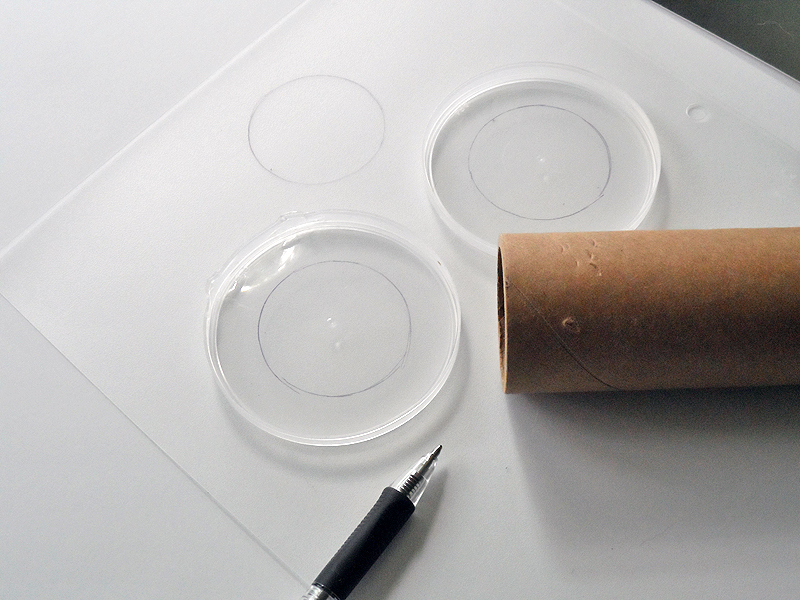
Trace the end of the cardboard tube onto your clear and frosted plastic and cut out the circles. You will need two clear circles and one frosted circle. Set these aside.
Measure the length of your cardboard tube. From this number, subtract 1.5 inches. So if your cardboard tube measures 11-inches: 11 – 1.5 = 9.5 inches. This will be the length you need for your reflective paper. The other dimension will be 3.75 inches.
Therefore, for an 11-inch long cardboard tube, you will need a 9.5″ x 3.75″ rectangle of reflective paper.
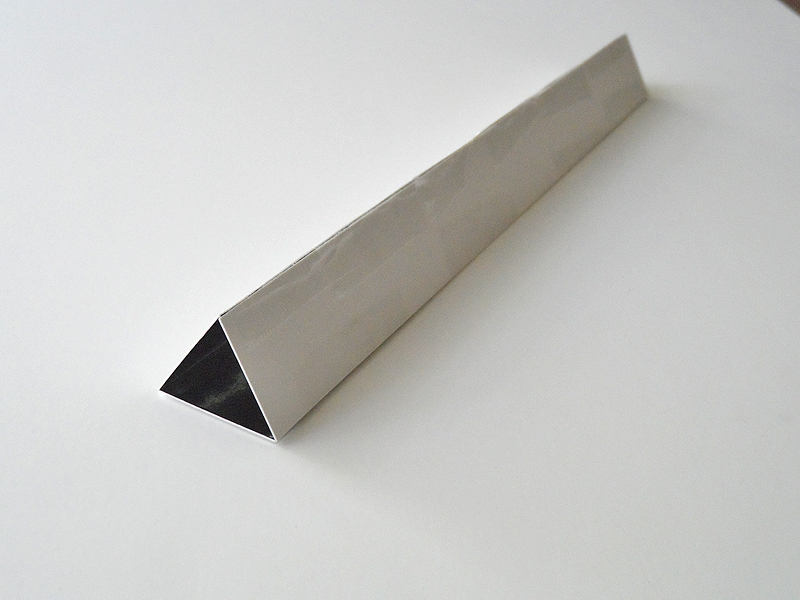
Cut the rectangle into three equal strips of 9.5″ x 1.25″. Tape the sides together to form a triangle with the reflective sides facing inward.
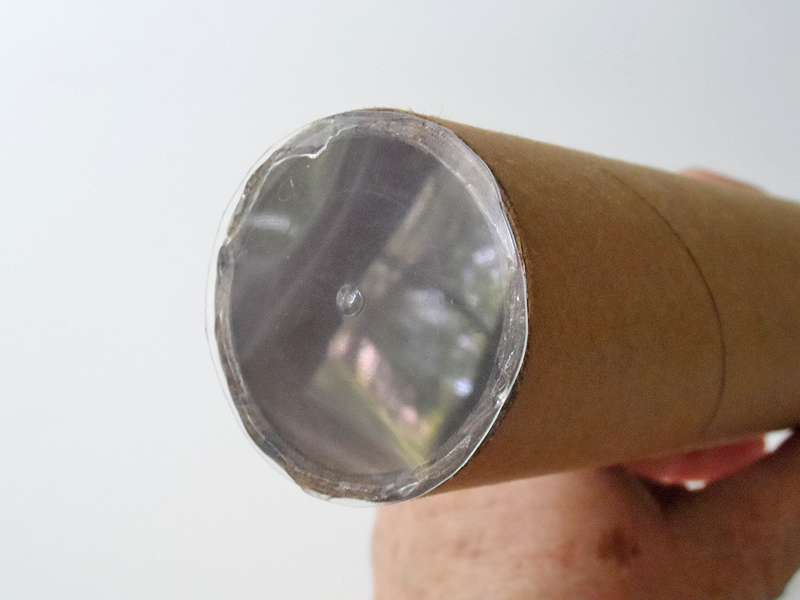
Take one of your clear plastic circles and hot glue it to one end of the cardboard tube.
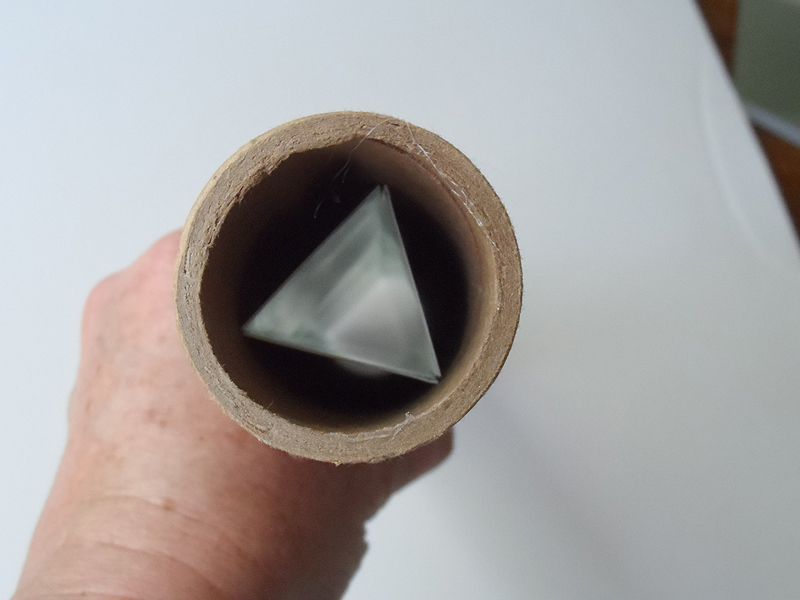
Insert the triangle inside the tube so that it is resting on the plastic circle you just attached.
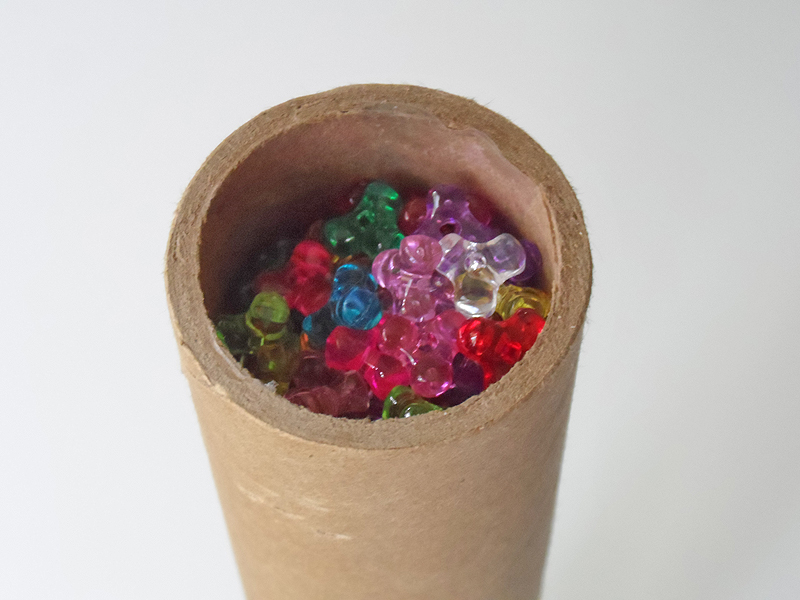
Take the other clear plastic circle and trim it so it will fit snugly inside the tube. Place this circle inside the open end of the tube so that it rests on the end of the triangle. Carefully tape it in place. Add your beads, filling the space about 1/2 full. You want enough beads to reflect their colors, but not too many that you block the light from getting in.
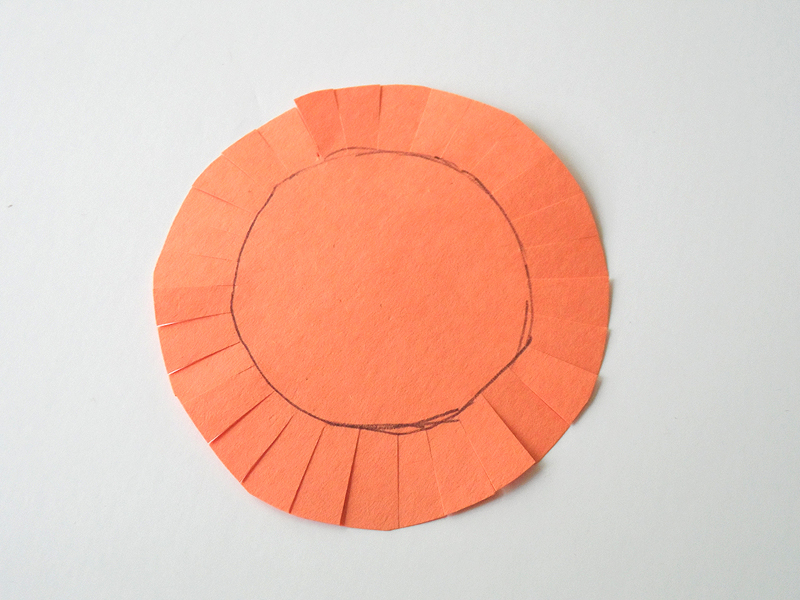
Hot glue the frosted circle to the end to encase the beads. Wrap the cardboard tube with yellow construction paper and decorate with orange. Use the tube to trace a circle onto orange construction paper. Cut circle from the orange paper about 1/2-inch larger than the tracing marks. From the 1/2″ border, cut small slits (like you are creating sun rays) all the way around the circle. Cut a peep hole in the center of the circle.
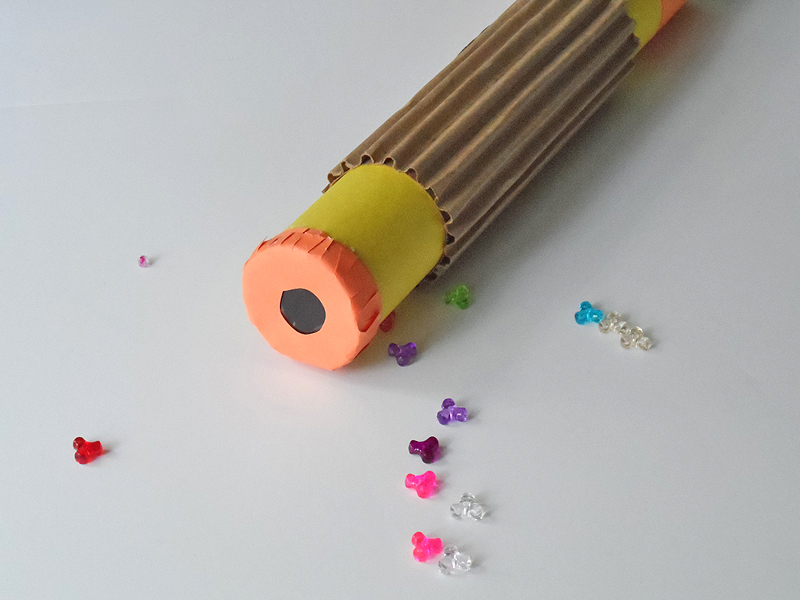
Glue the orange circle to the end of the tube that does not contain the beads. Bend the slits that you cut down around the edge of the tube, gluing them in place.
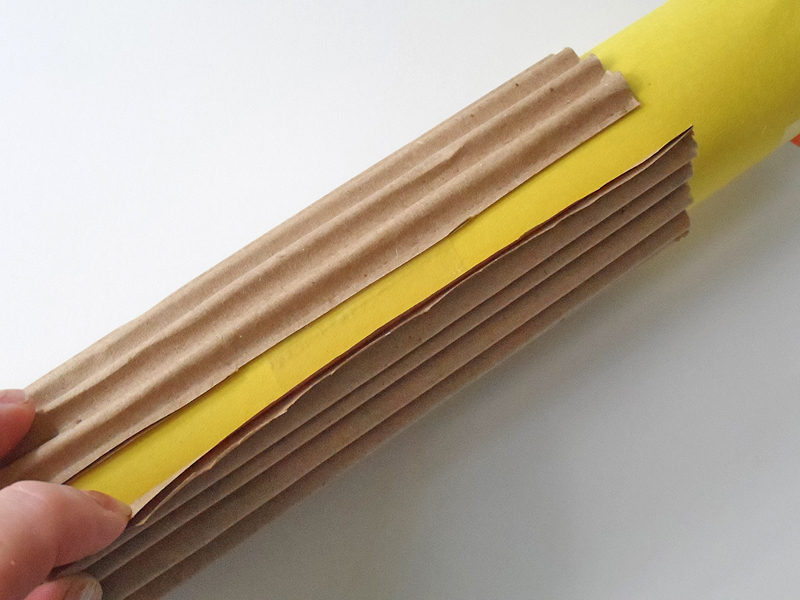
Cut a piece of corrugated cardboard or paper to fit around the tube, just loose enough so the tube can move freely. Tape the cardboard to itself, but not to the tube.
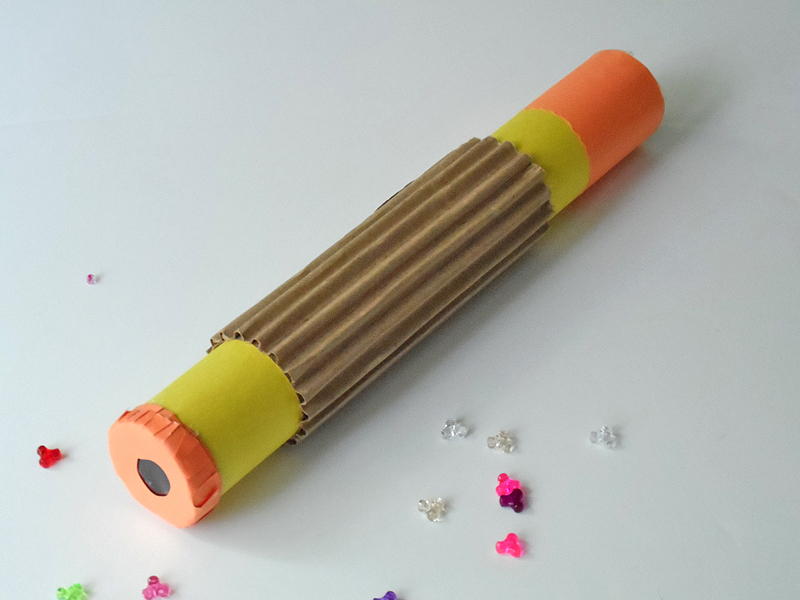
Hold the corrugated grip with one hand and the yellow part of the tube with the other. Turn the tube, holding the corrugated grip stationary while looking through the peep hole.
Be sure to use different colored beads so that you will experience a multitude of patterns and designs.
Amanda Formaro is a well-known craft expert and has been writing and crafting on the Internet for over fifteen years. Find out more on her blog, Crafts by Amanda, where she shares tutorials with step-by-step photos for adults and kids alike.
