DIY Light Box for Kids
A light box is really easy to make. In fact, there are no crafting skills required. A light box can provide hours of fun and can even come in handy for adults on occasion! You will need a few supplies that you can pick up at any discount department store.
To make your own light box you will need:
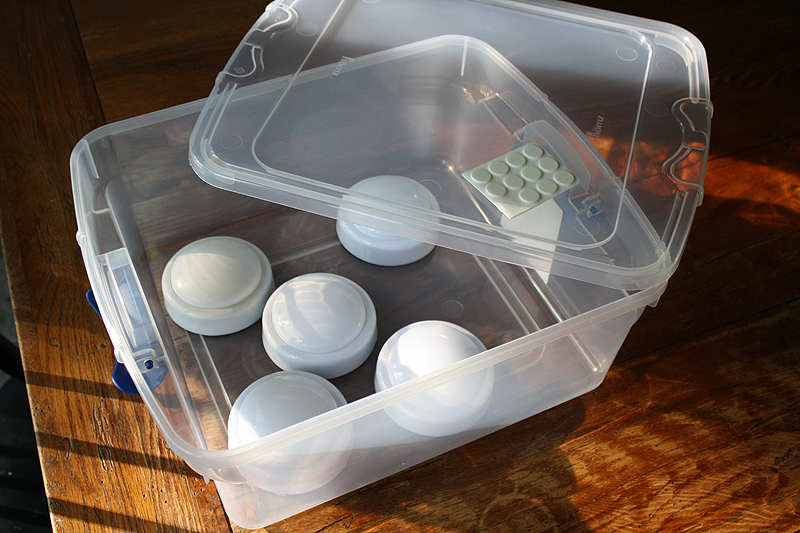
A clear plastic container with a smooth, clear lid
4-5 tap lights (most come with batteries)
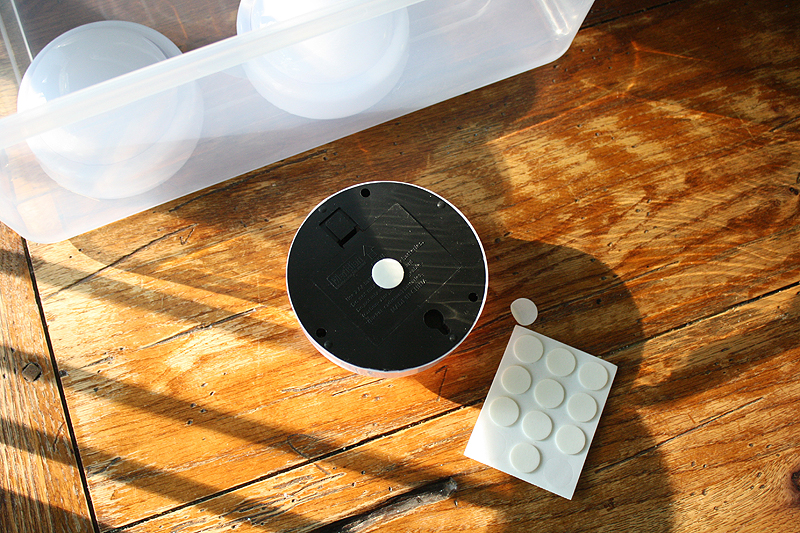
Glue dots or double sided adhesive circles
Tap lights come in 4-packs, so if you don’t have extras at home, a fifth one is not necessary.
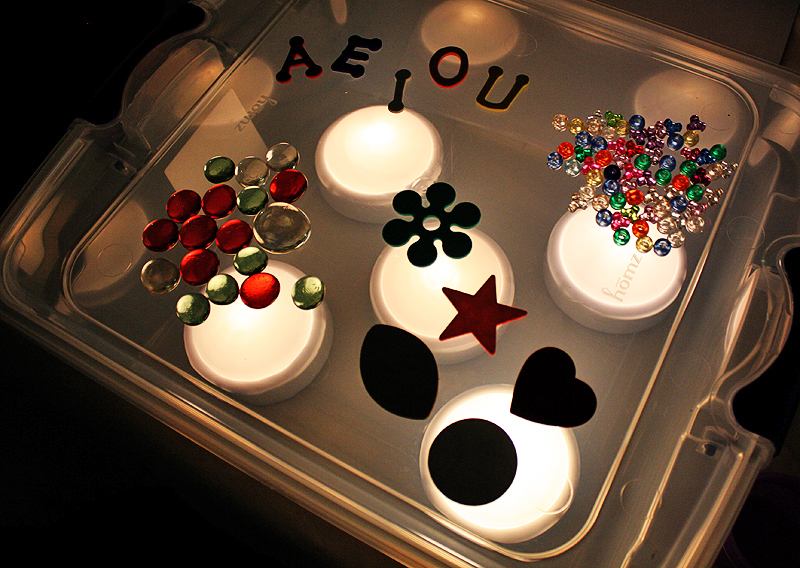
First be sure your batteries are inserted and the tap light works. Next, place a glue dot on the bottom of the tap light and press the light to the bottom of the plastic container. Repeat for a total of four or five tap lights.
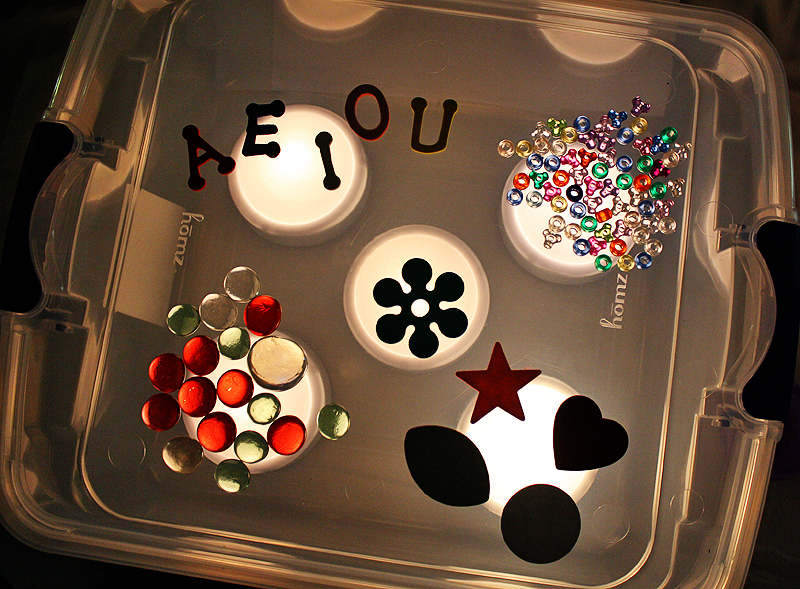
Your light box is ready to be used! Push each tap light to turn them on and secure the lid in place.
For tracing pictures, simply place your picture on the lid and place a white piece of paper over the top. For coloring pages that are two sided, photocopy the picture that you want and use that instead.
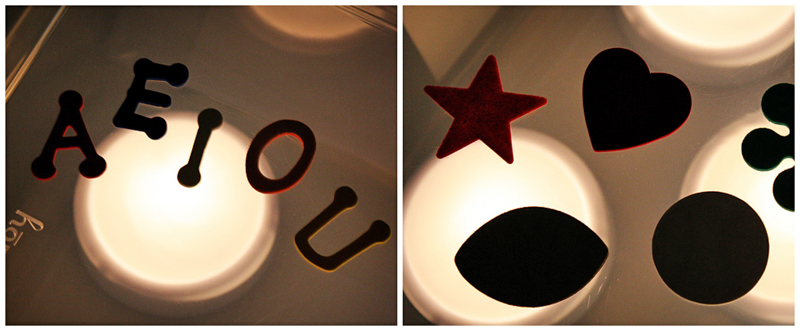
Have some fun exploring shapes and letters and writing out messages! We used foam shapes and alphabet pieces, but wood, plastic or felt would work great as well.
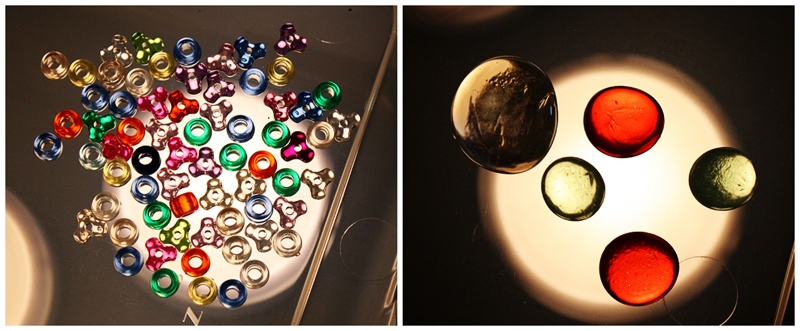
Let children explore the world of color with transparent beads, gems and flat glass marbles!
There are lots of ways to use a light box, so have fun with it! When you are all done, store your beads, shapes, and other items in zipper sandwich bags or small plastic containers with lids. Place those bags or containers inside your light box, turn off your tap lights and put it neatly away until next time. Have fun!
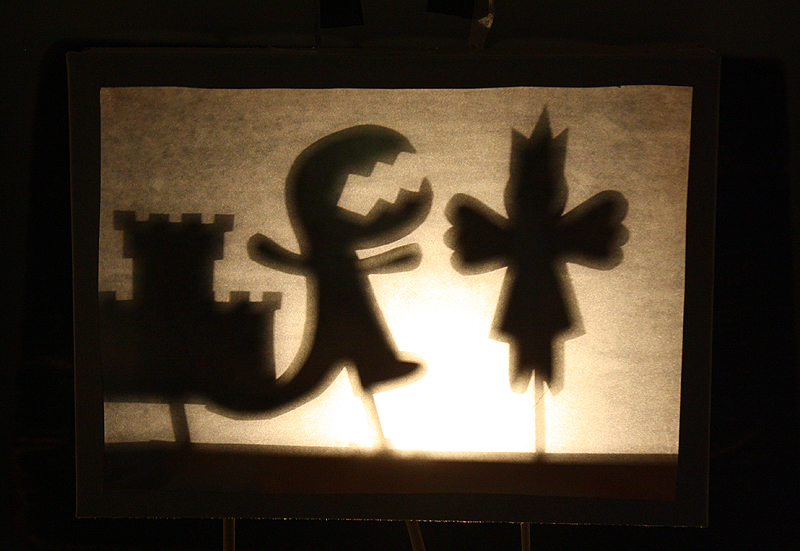
If you like exploring with light, shadows and silhouettes, try our Shadow Puppets in a Cereal Box Theater!
Amanda Formaro is a well-known craft expert and has been writing and crafting on the Internet for over fifteen years. Find out more on her blog, Crafts by Amanda, where she shares tutorials with step-by-step photos for adults and kids alike.
